
How to run OpenAI via Azure using AIProxy in Swift
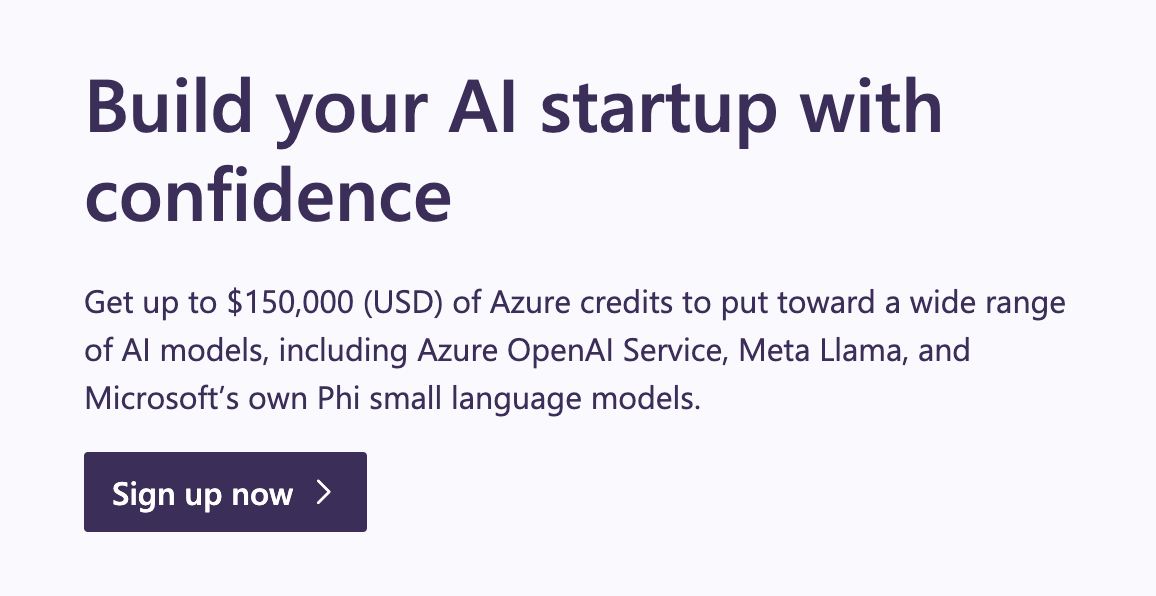
Microsoft is offering $150,000 in OpenAI credits for startup founders. But to use it, you have to work via Azure. Here is how you can get set up and start building!

One of the biggest challenges in building AI-powered apps is figuring out how to price them. To mitigate the initial risk of uncertainty about user adoption and offer competitive pricing initially, startup founders / indie developers can sign up for the Microsoft for Startups program. The biggest benefit, among many, includes up to $150,000 in OpenAI credits. However, to use these credits, you must build with Microsoft Azure:
The second challenge for us as Swift developers is how to store our API keys securely as it can be easily retrieved and used by hackers if stored in any way in the app. While you can build and deploy your own Proxy Server, this comes with some challenges, including maintaining your own AI libraries and managing server infrastructure.
A simpler alternative is AIProxy, a service which allows you to securely store and manage API keys, switch between them as needed, and implement features like DeviceCheck and rate limiting to enhance security and control.
In this article, I’ll demonstrate how to combine these two services—leveraging the OpenAI API credits provided through Azure while securely managing your API keys with the AIProxy library.
Deploying an OpenAI Model on Azure
Once you sign up for an Azure subscription, you can go to the ai.azure.com to get started. Simply click on “Create a project” option:
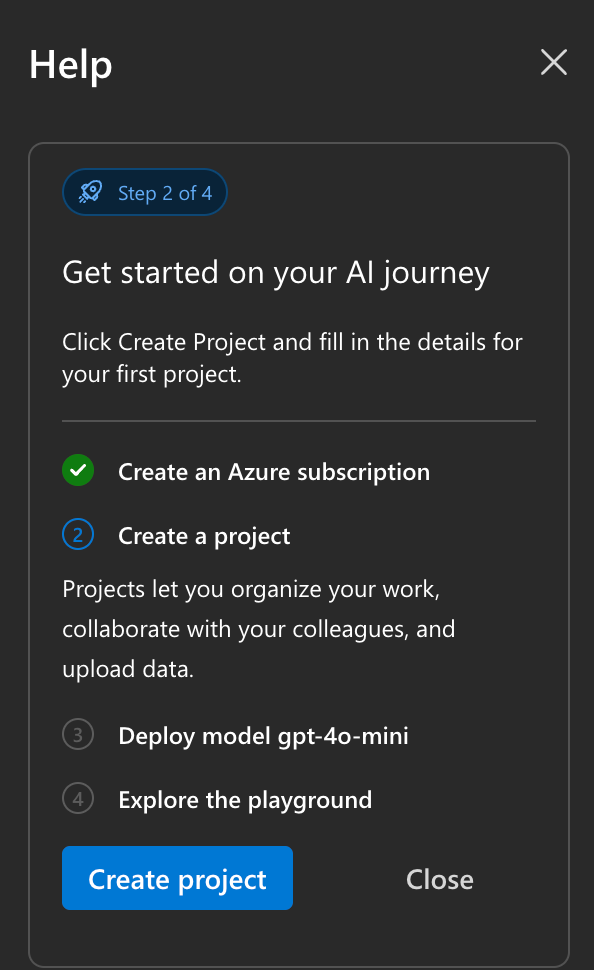
One thing to note is that Customize your project settings, including the location.
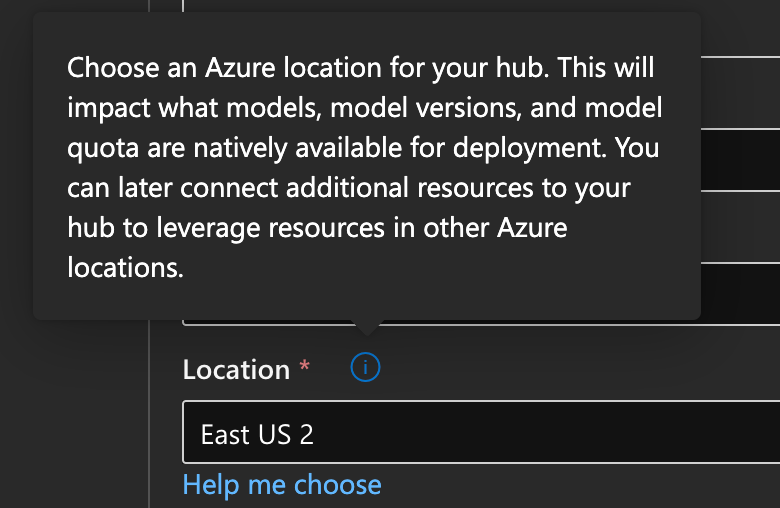
This is useful for founders who are located in Europe and have to comply to the legal requirements of having to host the user data in the same location as the user.
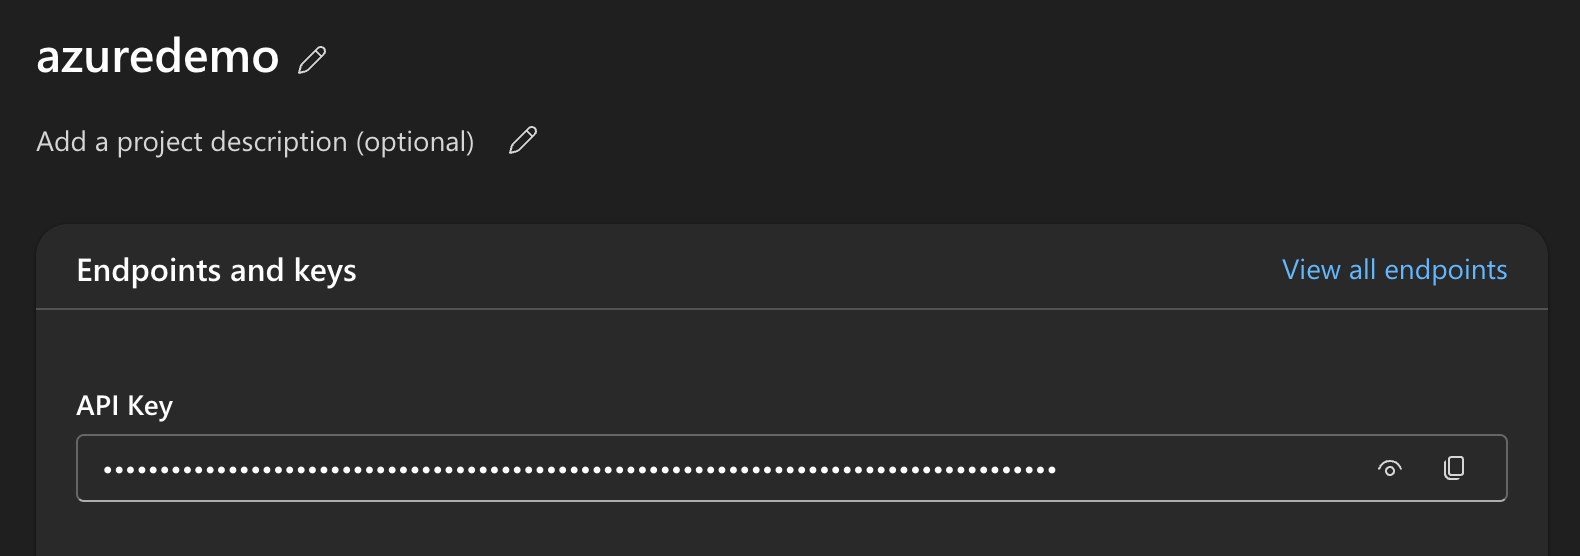
Once the project is created after a bit of time, you will see your API key, which you will need to store in AIProxy.
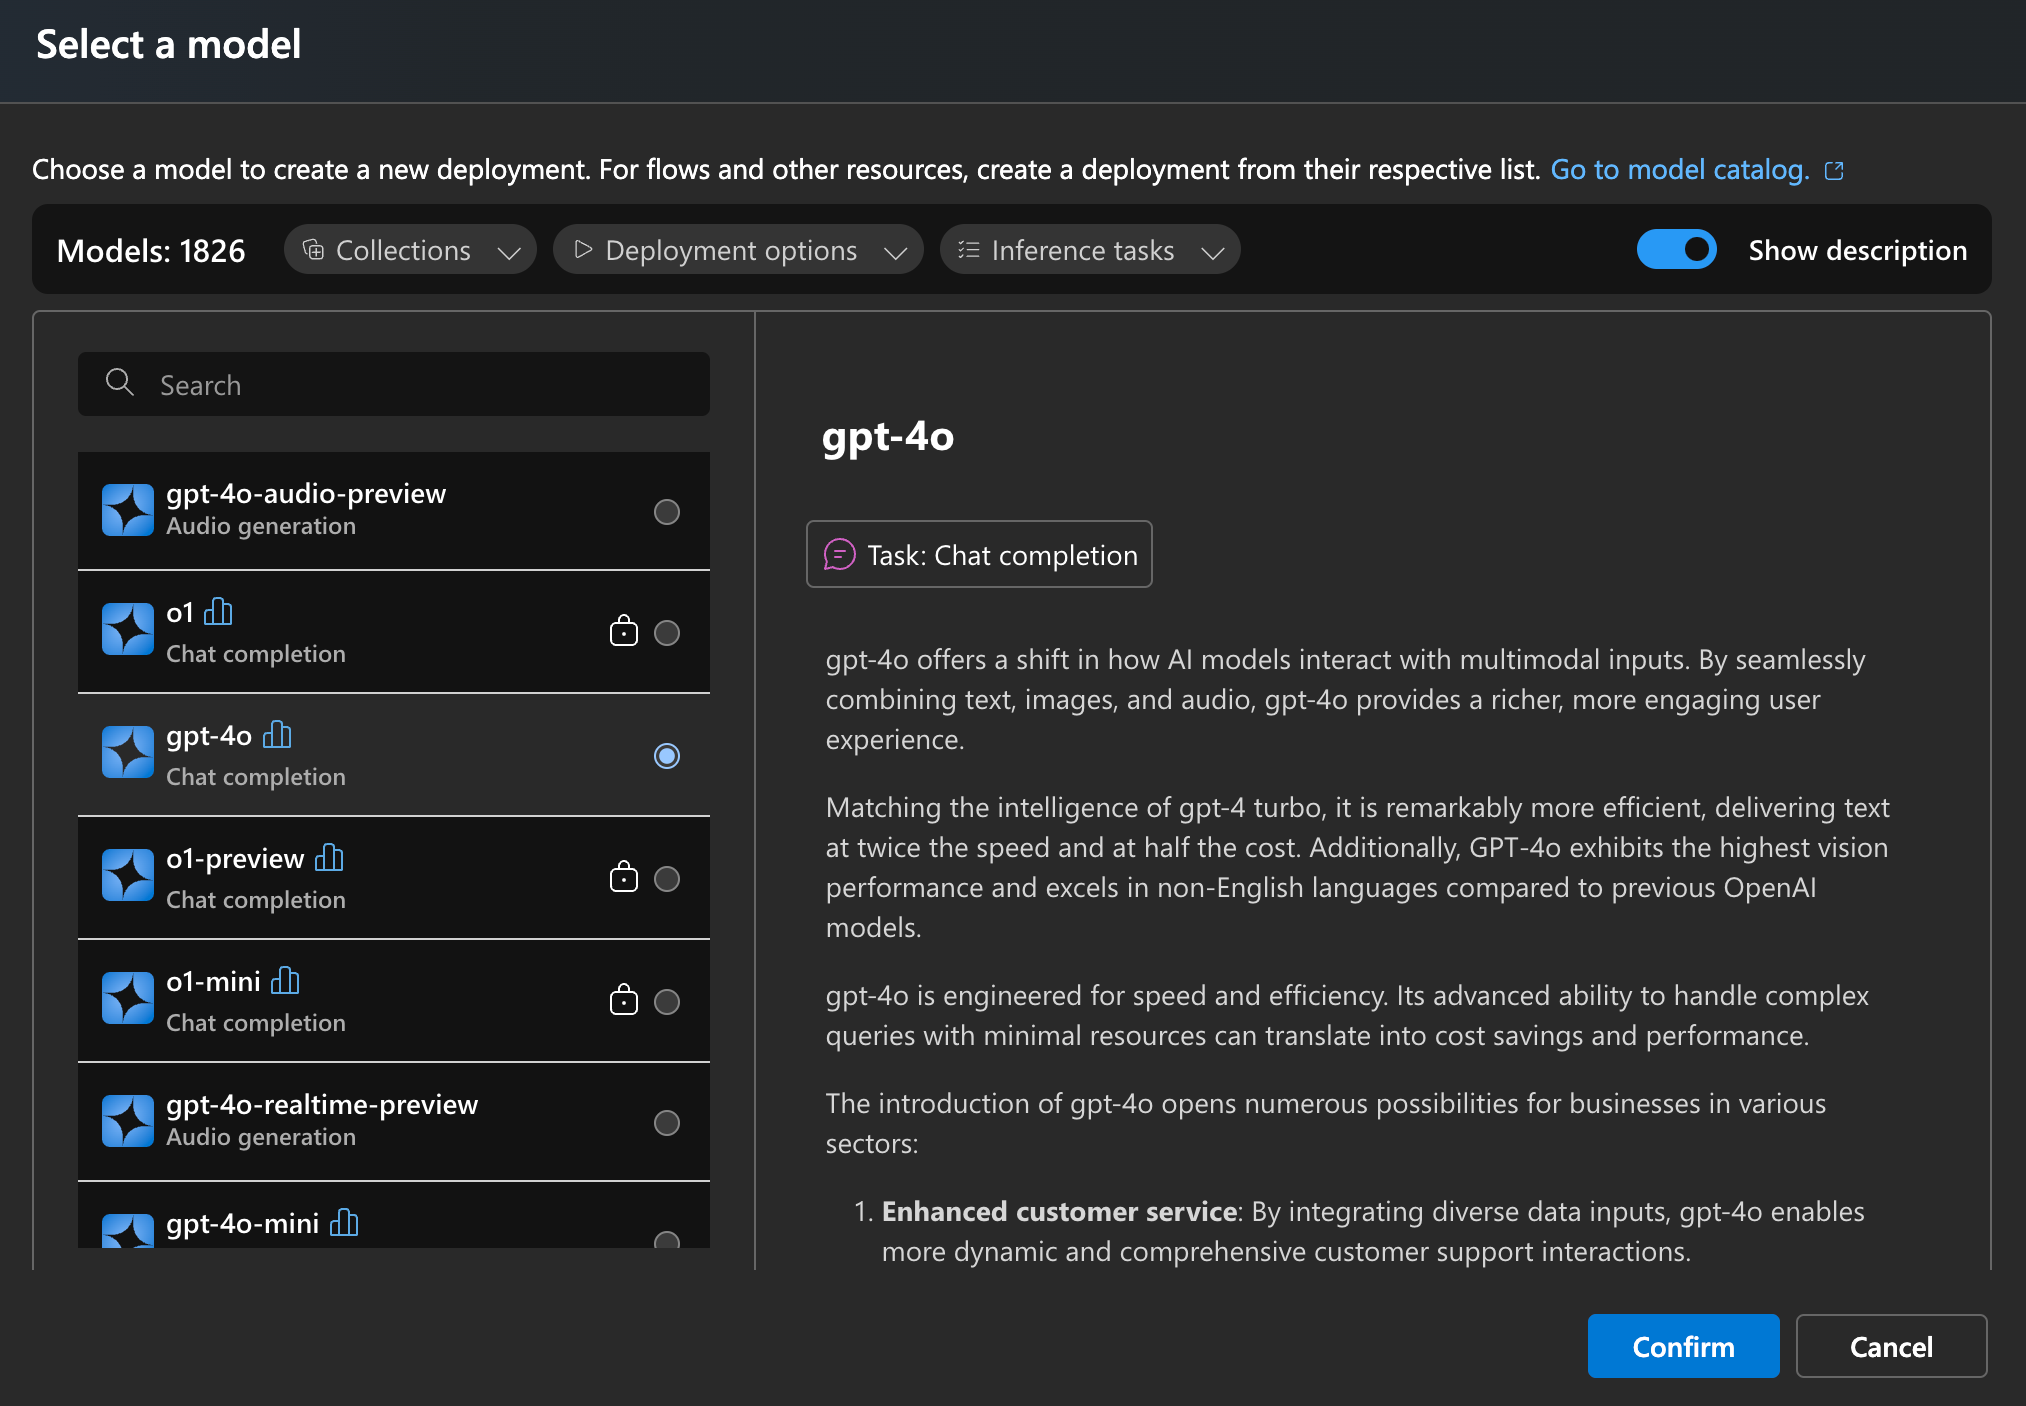
Now to deploy a model, click on the “View all endpoints” option followed by the “Deploy model” option:

In this case, I’ll be deploying the gpt-4o base model:
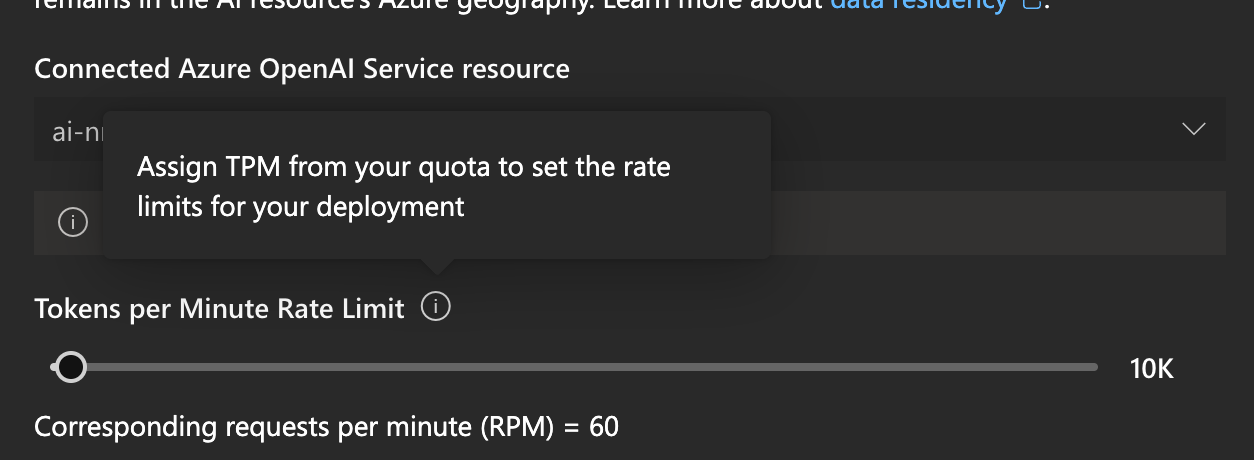
Once you Confirm, you will see that you can already use Azure to add rate limits to how many tokens the model outputs, adding the first layer of security.
Now you will get information about your model deployment, including the URI, API Key, and Model Version. You will need this information for AIProxy.
Configuring the Azure-based OpenAI Model on AIProxy
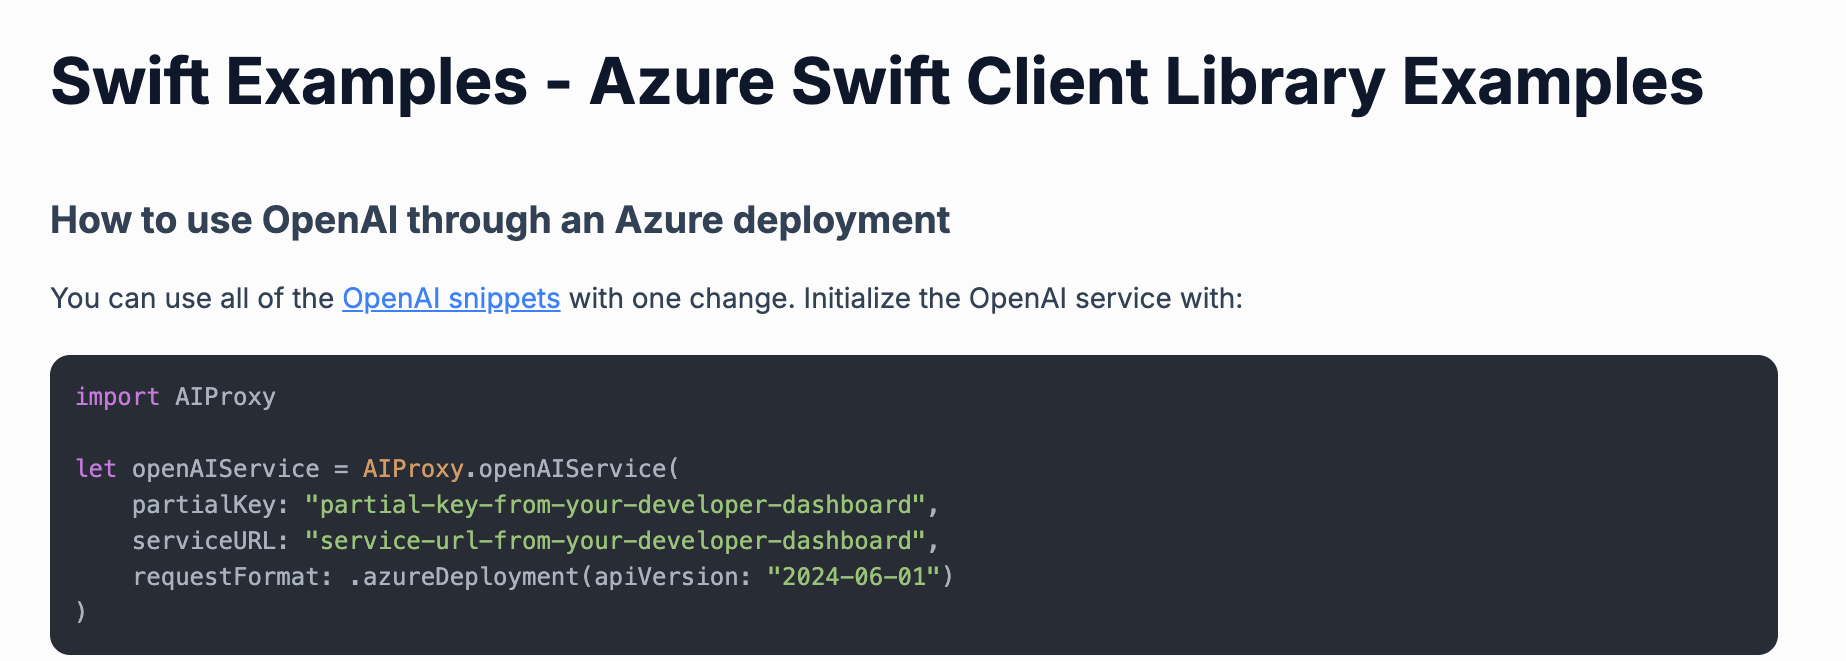
If you look at the AIProxy example for Azure, the Azure API follows the OpenAI service:
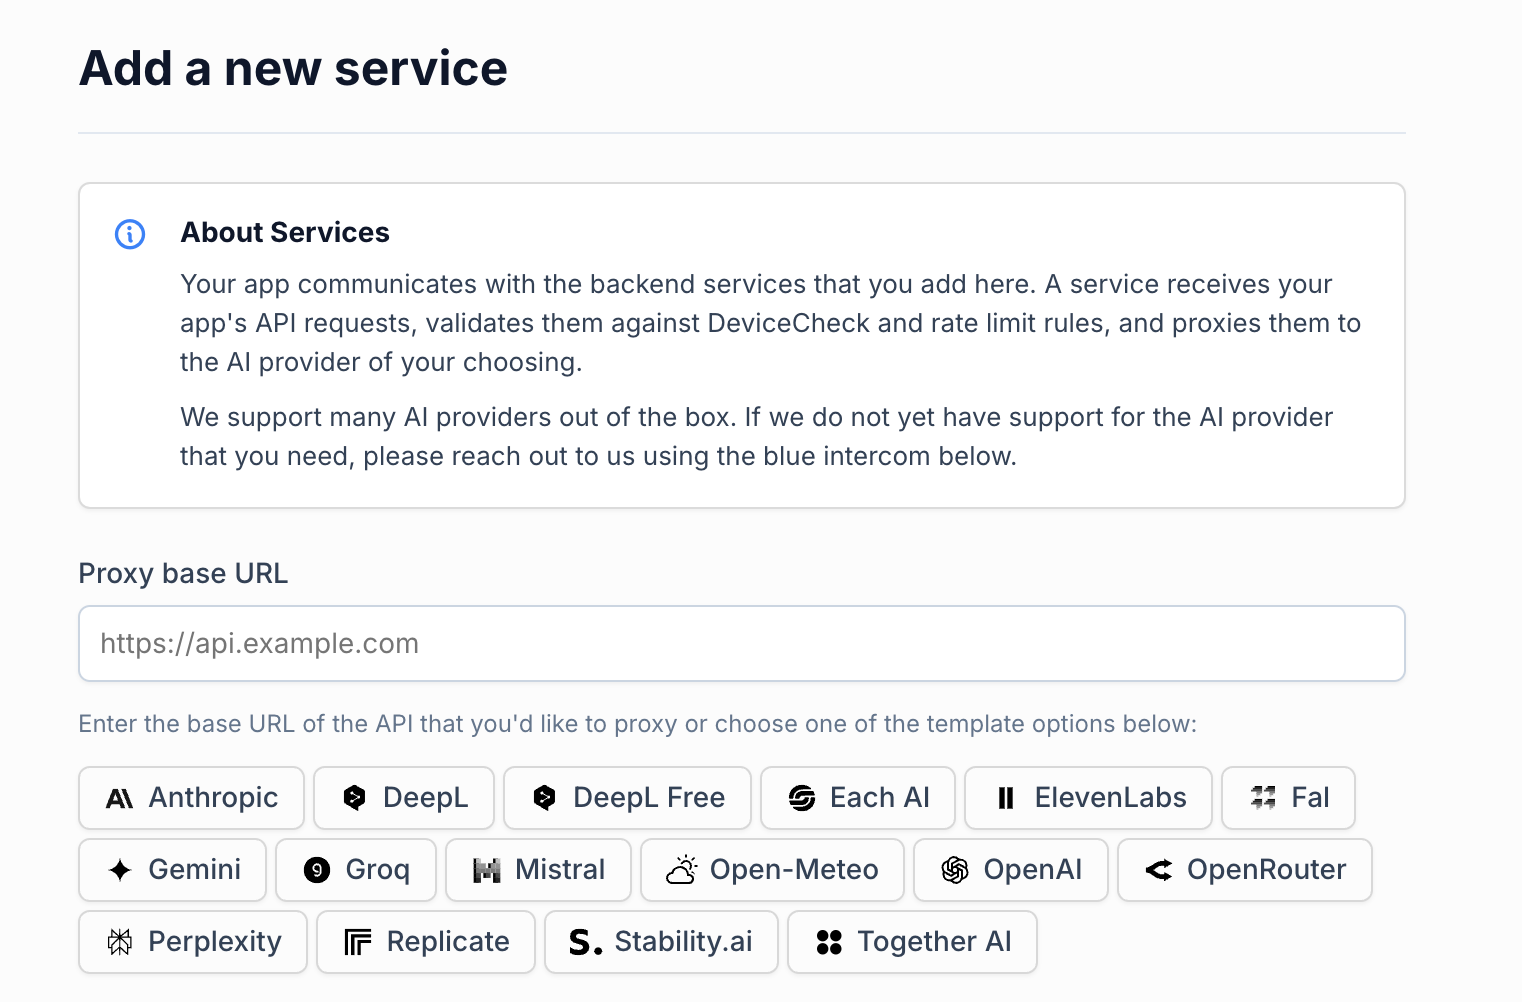
So when you log into your Azure account and create a new project, you’ll be able to “Add new service”, where you will be prompted to set up the DeviceCheck. Follow the instructions to do so.
This is where you will be prompted to create the new service:
The Proxy base URL is Target URI from your Azure deployment
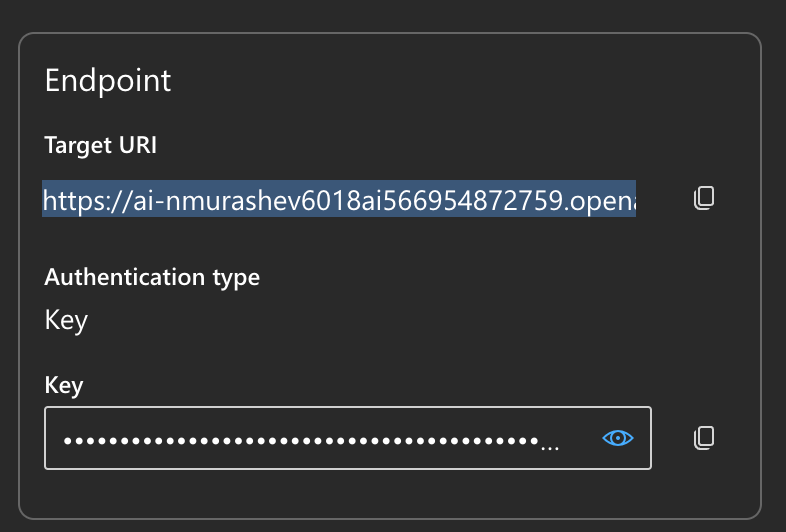
However, you have to take out all the uri path components after gpt-4o. In other words, you URI will become the base URI:
https://YOUR_PROJECT.openai.azure.com/openai/deployments/gpt-4o (remove anything else after this part)
Once your service is added, you can click on the API Keys option in AIProxy to add the Azure API Key:
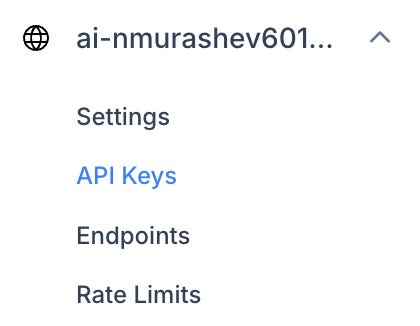
Once you add the API Keys, copy the partialKey and the serviceURL that you will be using through the AIProxy library.
Initializing an Azure-based OpenAI Service in your Swift App
Finally, just import the AIProxySwift library into your app and initialize the openAIService:
import AIProxy

let openAIService = AIProxy.openAIService(
    partialKey: "YOUR AIPROXY PARTIAL KEY",
    serviceURL: "YOUR AIPROXY SERVICE URL",
    requestFormat: .azureDeployment(apiVersion: "AZURE MODEL VERSION")
)
Note that the azureDeployment’s apiVersion is the Model Version, which you can find in your Azure’s model deployment page:
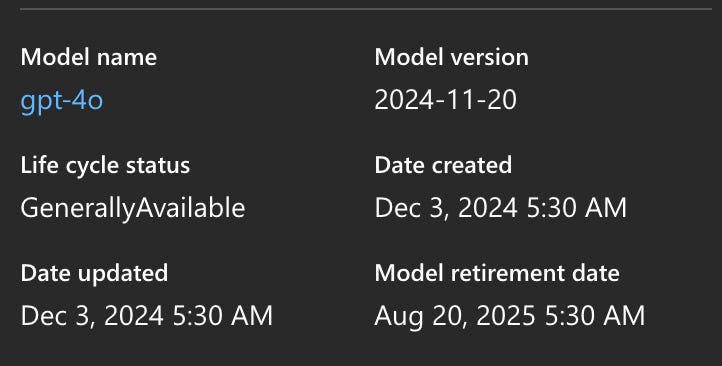
In this case, the model version is “2024-11-20”.
Now that the openAIService is initialized, it can be used via the AIProxySwift library following the OpenAI API protocol:

As you see - it’s a bit of a challenge to set up initially, but the $150,000 worth of OpenAI credits is well worth it!