How to use the OpenAI Playground
Given the many uncertainties and high-cost risks associated with using the OpenAI API, it is important to first learn to test any input / output using their Playground. Here is how...
One interesting thing about working on integrating AI into our products as a front-end-focused iOS developers is that AI APIs such as OpenAI don’t have an “exact right” input or a consistent output that you can rely on as in the way other data APIs work. It can even hallucinate!
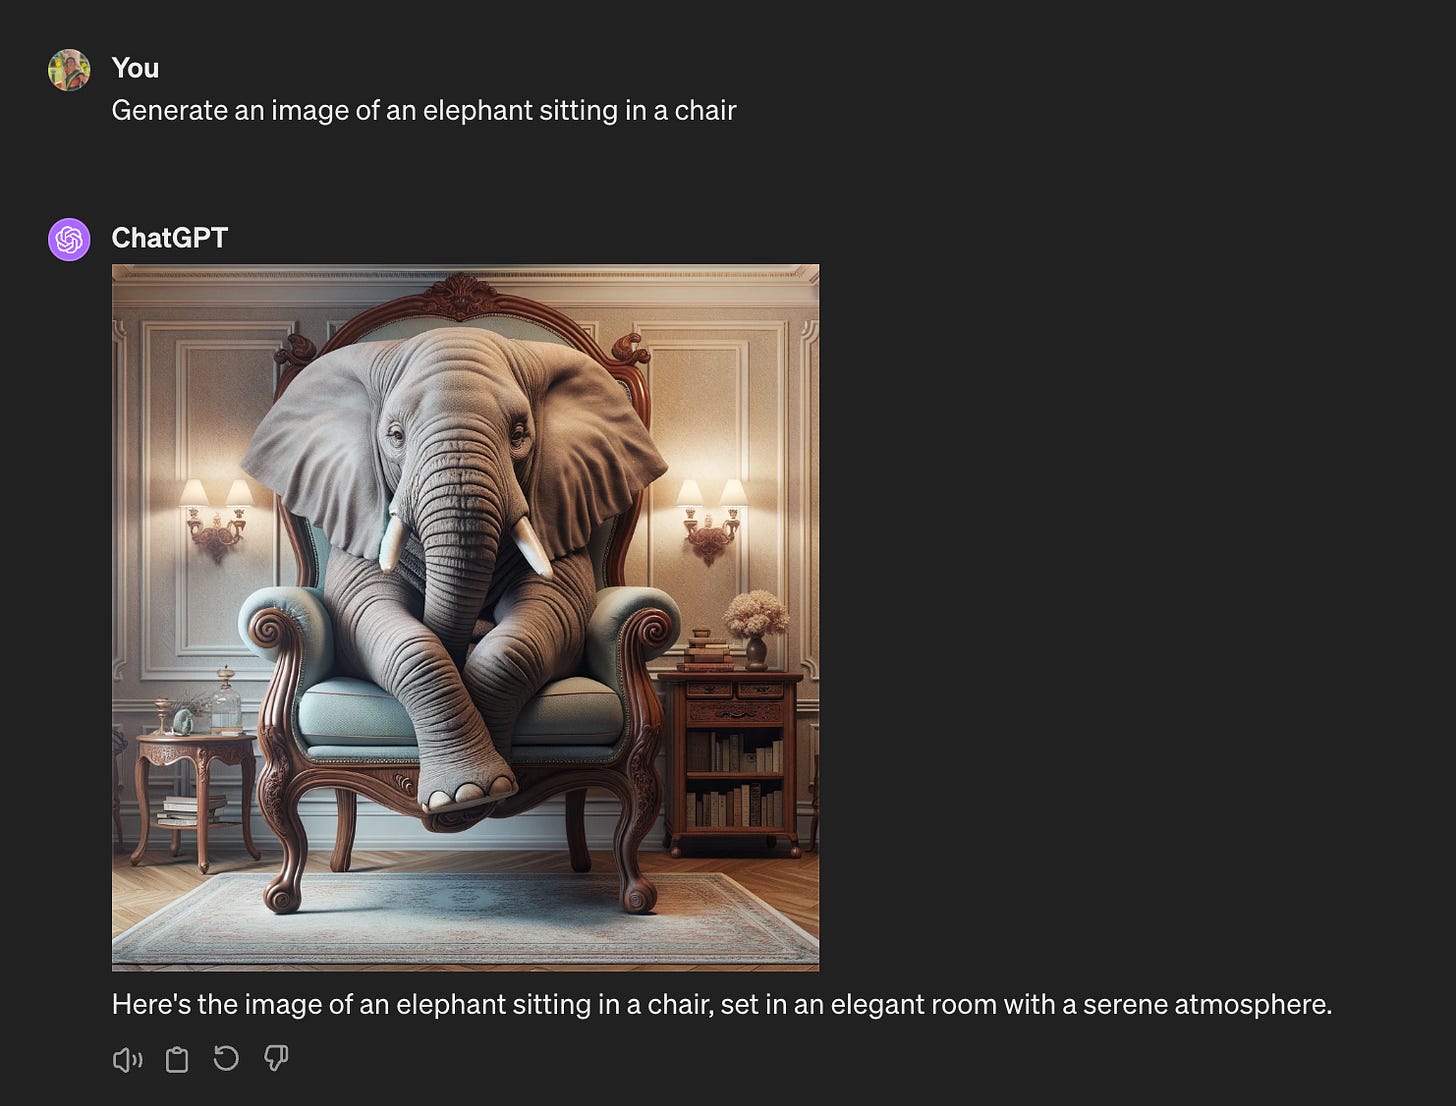
As this is easier to demonstrate with images, I asked ChatGPT to generate an image of an “elephant sitting in a chair” in two different context windows and got extremely variable results:
This means that two users who ask for the same exact thing in your AI app can get widely different answers!
The challenge is that while in normal REST APIs, you can code exactly the data you want to receive back and receive exactly what you expect every single time, the OpenAI APIs are done with prompts or in natural language, calculating answers using different probability calculations. This leaves A LOT of room for experimentation and different outcomes.
Looking at available prompts, such as this one from Claude 3, it seems like you need to be more of a creative English type than a software engineer.
This is why, if you’re using OpenAI’s API (or any other LLM system), it is extremely important to experiment with prompts using your app data before coding these parameters into the app you’ll be shipping.
In the case of OpenAI, they have a great Playground to work with, but parts of it might be confusing, especially if you’re not as familiar with AI terminology. I asked @vatsal_manot to explain it a bit to me, so I wanted to share what I learned.
Follow along in your own OpenAI Playground! Note that you will need to sign up for an OpenAI developer account and put in your billing information. And note that using the Playground to experiment is CHARGEABLE. However, it is better to pay a few dollars for playing around in the Playground and figure out the right parameters for your model before deploying your app and potentially getting charged A LOT more for what could possibly be a bad response!
The Different Playgrounds
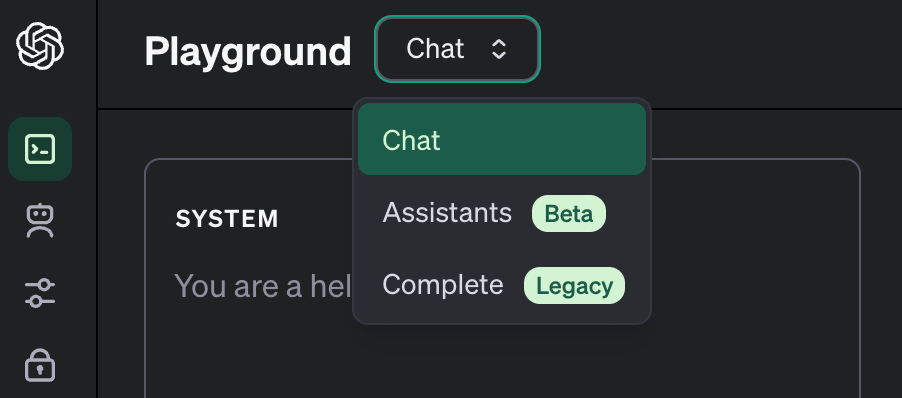
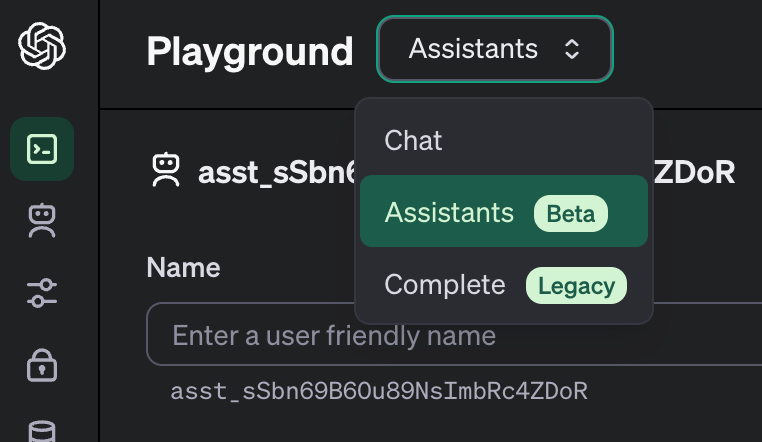
On the top left corner, you will see Playground choices for Chat, Assistants, and Complete.
In this blog post, I will explain them in a backwards order - from Complete to Assistant to Chat:
Complete
While the Complete Playground is Legacy and will no longer be supported for future GPT models, it is worth knowing that this is OpenAI’s earlier product, before the Chat version came out!
While ChatGPT is extremely impressive in what it does, it is important to keep in mind that an LLM is basically a very advanced auto-complete program. The way it works is that it generates the next most likely token (or sequence of letters) based on the millions of input texts that it was trained on.
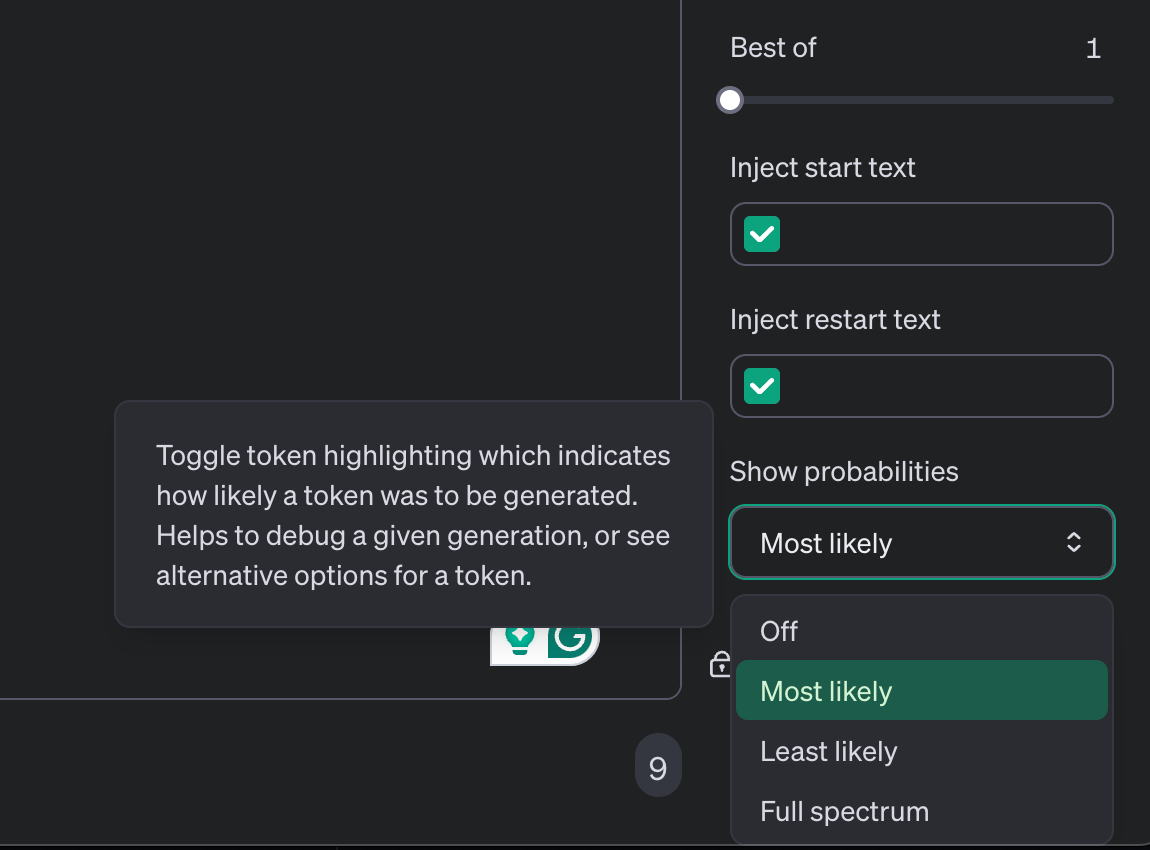
By playing with the Complete model, you will be able to visualize what that looks like. In order to do this, take a look at the right-side panel, scroll down, and select the “Most Likely” from the “Show Probabilities” option:
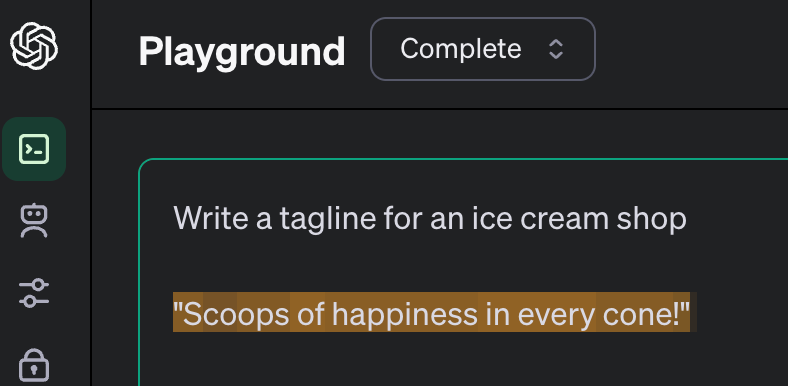
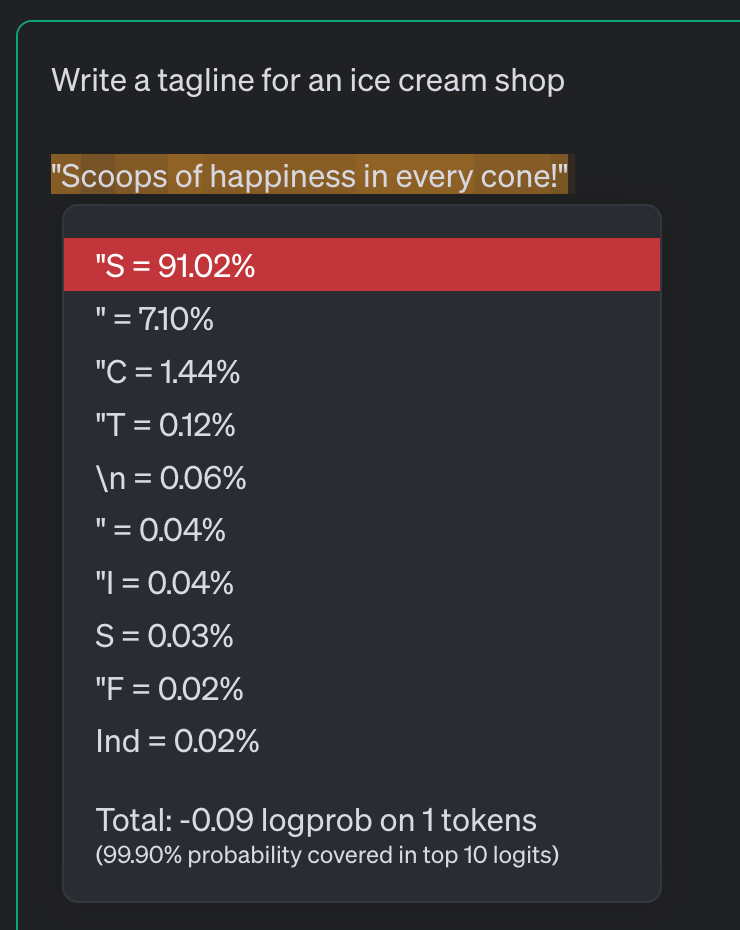
Now use any prompt - I’m just going to use the recommended one “Write a tagline for an ice cream shop” and click “Submit”. You will now see the generated prompt:
What is interesting here is that although you cannot see it well, the answer now is split up in tokens of slightly different yellow - e.g. Scoops = S + co + ops (3 tokens). And when you click on each token, you can see the “logprob” or the probability with which the LLM predicted that this is the next token:
It’s nice to play with this playground as it is the only one that still shows this type of information. Imagine that something as simple as writing the word “Scoops” took the LLM 3 branches of probability calculations to generate!
Assistants
The next playground is the Assistants one:
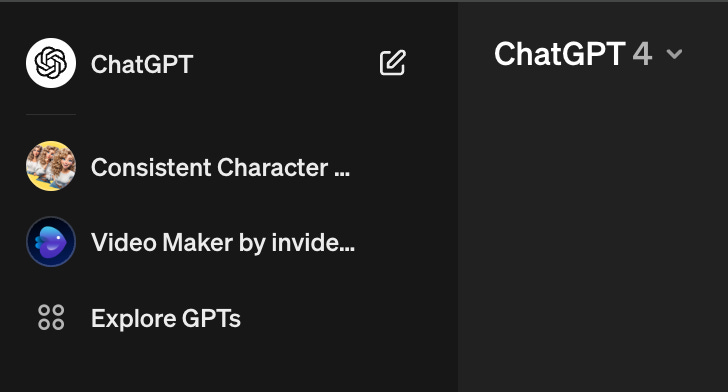
This is the playground used for generating the custom GPTs which you can see on the left-hand side of your ChatGPT version.
To understand what Assistants are, I recommend watching Sam Altman’s announcements on Assistants with examples to get ideas:
https://www.youtube.com/live/U9mJuUkhUzk?si=DAoxUuKUZ7jNoxA8&t=1200
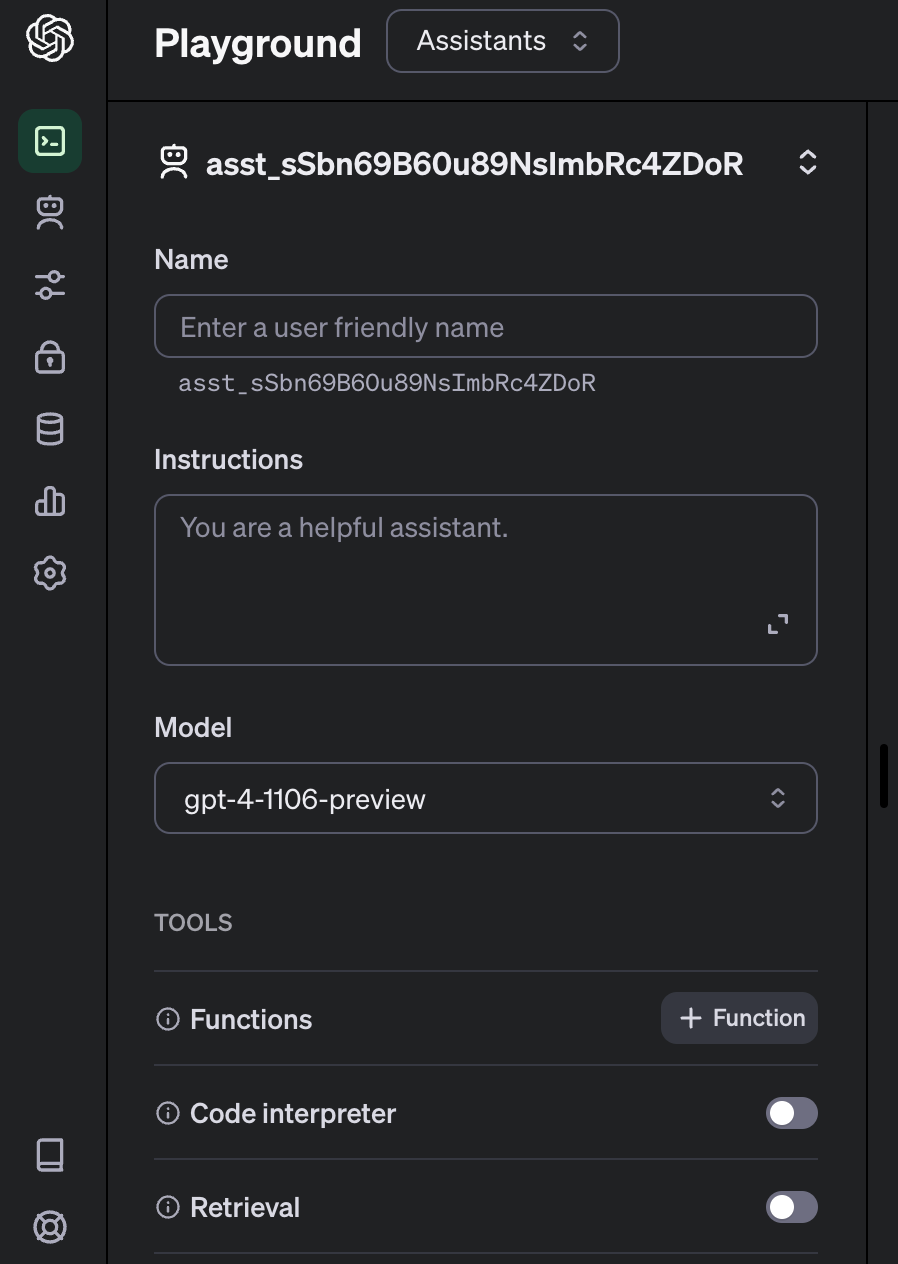
The one big thing about Assistants, as you can see from the playground, is that you have to be very very good at prompt writing more than coding:
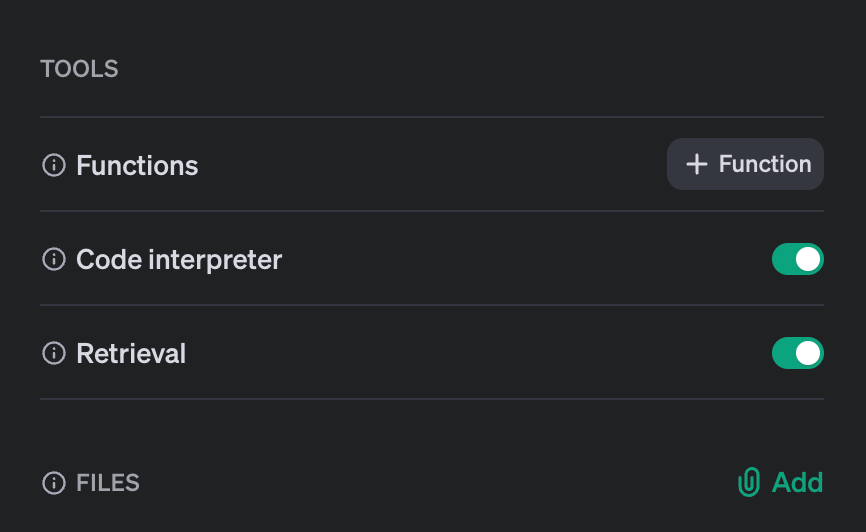
After writing the prompt, as you can see, you have a few options:
If you’d like to integrate the Assistant into your app, you will need to use Functions. The JSON response will trigger some custom code inside your app. How to use Functions will be a blog post for another time, but you can read about Functions here.
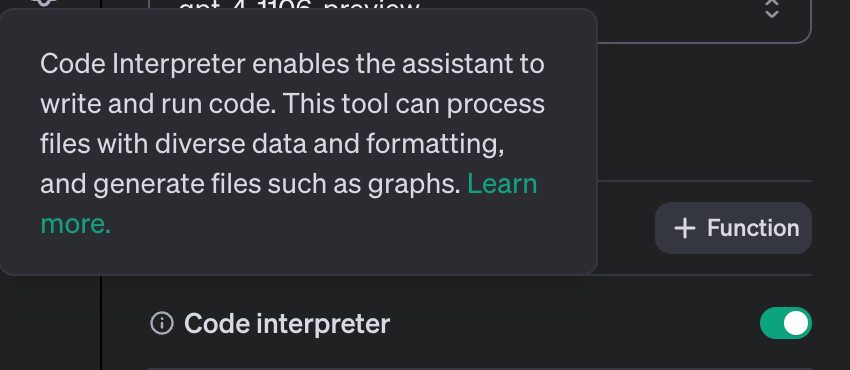
The Code Interpreter option is for Assistants that will be working with code specifically. If you click on the little Info icon, you’ll see the details.
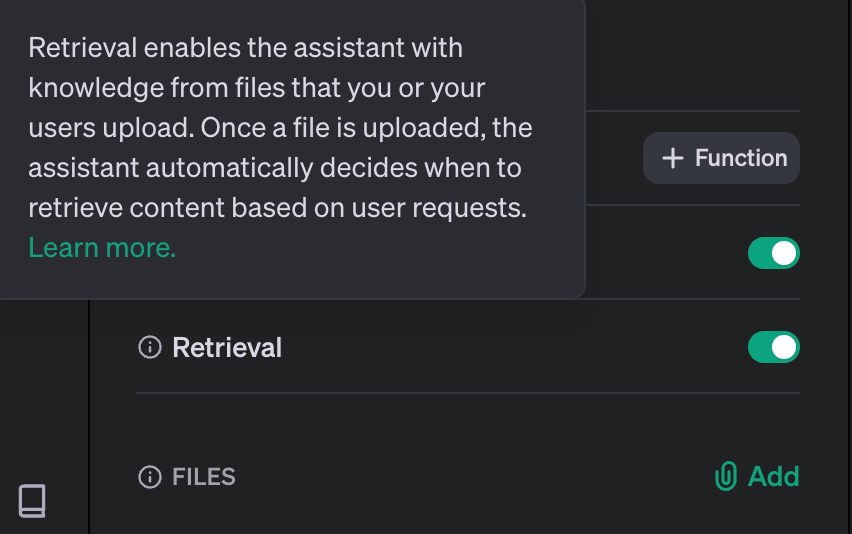
Finally, the last option is the Retrieval:
This is the coolest option as this allows you to upload your own set of files and use them as an add-on to the OpenAI knowledge base. In other words, use your own augmented data set.
While this is by far the most exciting part of Assistants, personally, I have found them too buggy / hallucinating for my use-case, so if you are interested in creating a very specific domain-specific Assistant inside your app using a PDF or CSV of proprietary information, definitely use the Playground to make sure your instructions are very very specific and the Assistant works as expected.
Chat
The last, and probably the Playground you’ll be using most often is Chat. This is out of Beta and not in Legacy, so this is the main API for OpenAI as of right now.
The Chat interface has a few parts.
The first part is the System prompt. This is where you give a “personality” to your assistant and give general instructions for what it should and should not respond to.
OpenAI has a Prompt Engineering guide to help you write effective prompts. However - these prompts, especially the System prompt require specific language and creativity. To get examples, check out these leaked prompts from successful AI companies that @vatsal_manot pointed me to.
On the right-hand side, you will see the User / Assistant Chat interface. The first role is the user. This is where you can enter your User query and click “Submit” to get the Assistant response as a test:
Note that when you click on “Add Message”, it allows you to type in the response of the Assistant…
While you cannot take on the role of the Assistant, by providing example Assistant responses to the user, the Chat API Assistant will continue responding in the same way. This is extremely useful when you want to extract certain information from texts or have a specific output. Read more here.
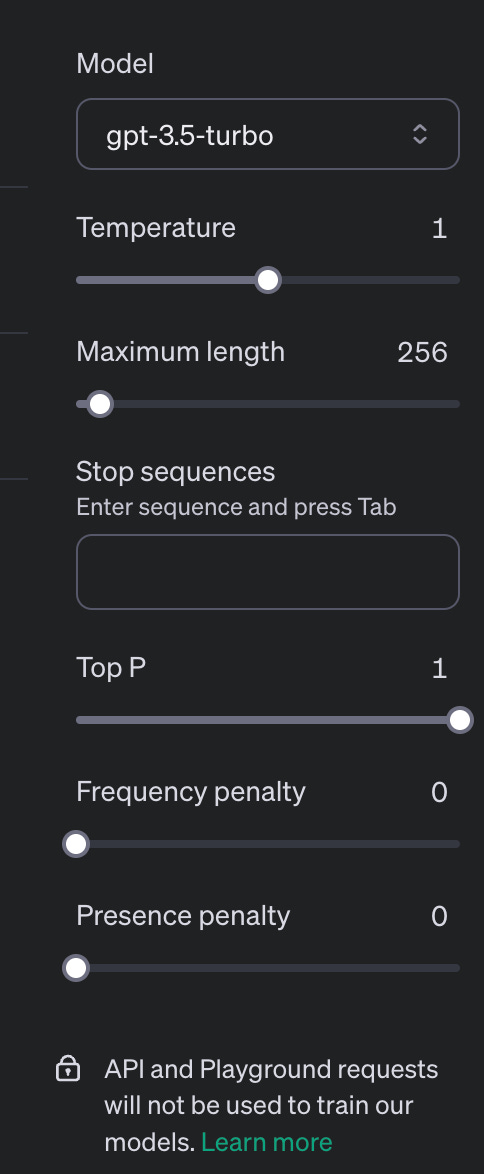
Finally, you will see a bunch of options on the right-hand side:
The Model
The first option is to choose the Model that you plan to use in your API. While we all want to use the latest one, the costs are very high for the latest model:
Compare this to gpt-3.5:
You’re going from $10 / 1M tokens to $0.50 / 1 M tokens in inputs, and from $30 / 1M tokens to $1.50 / 1 M tokens in output costs. This is a HUGE difference! This is why testing in the Playground is so important. Maybe the gpt-3.5 model is good enough for what your app requires. That will significantly save on the costs!
Temperature
Next, you will see the Temperature slider:
Temperature is basically how the LLM model decides to be either more conservative (towards Temprature 0) vs more random (towards Temprature 2) in its probability calculations. I highly recommend reading this article How to generate text: using different decoding methods for language generation with Transformers. It’s a bit technical, but it explains how models calculate the next token while maintaining randomness.
Note that as the Temperature approaches 0, the response might be repetitive. But as it approaches 2, it might not even make sense! For example, this is what happened in the Complete model when I entered the same prompt as before at Temperature 2!
So while I wouldn’t put the temperature to 0 or 2 completely, if you would like a more predictable and stable response (e.g. for a fact-based app), you can play around with putting the Temperature a bit below 1. And if you need a more “creative” response (e.g. for a creative writing prompt app), you can play around with putting the temperature a bit above 1.
Maximum Length
The next option is to set the Maximum Length:
This is the Maximum number of tokens that the API should output. Remember that the OpenAI API not only charges for the number of tokens you input, but also even more for the amount of tokens they output! So you want this to be low, but not too low that you don’t get a complete response… Keep in mind that if you would like a response in a foreign language other than English, that’ll cost you A LOT more tokens.
You can test out different inputs / outputs in the OpenAI Tokenizer to get an idea about how many tokens roughly are important for your app.
Stop Sequences
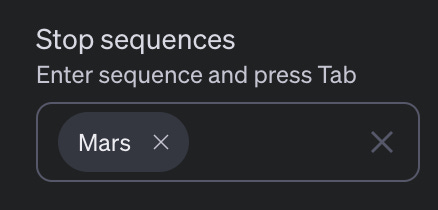
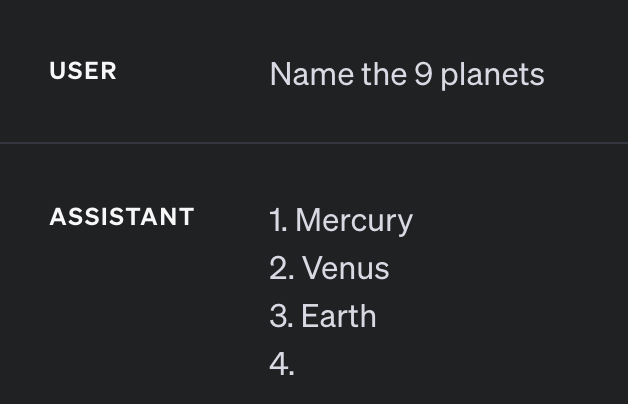
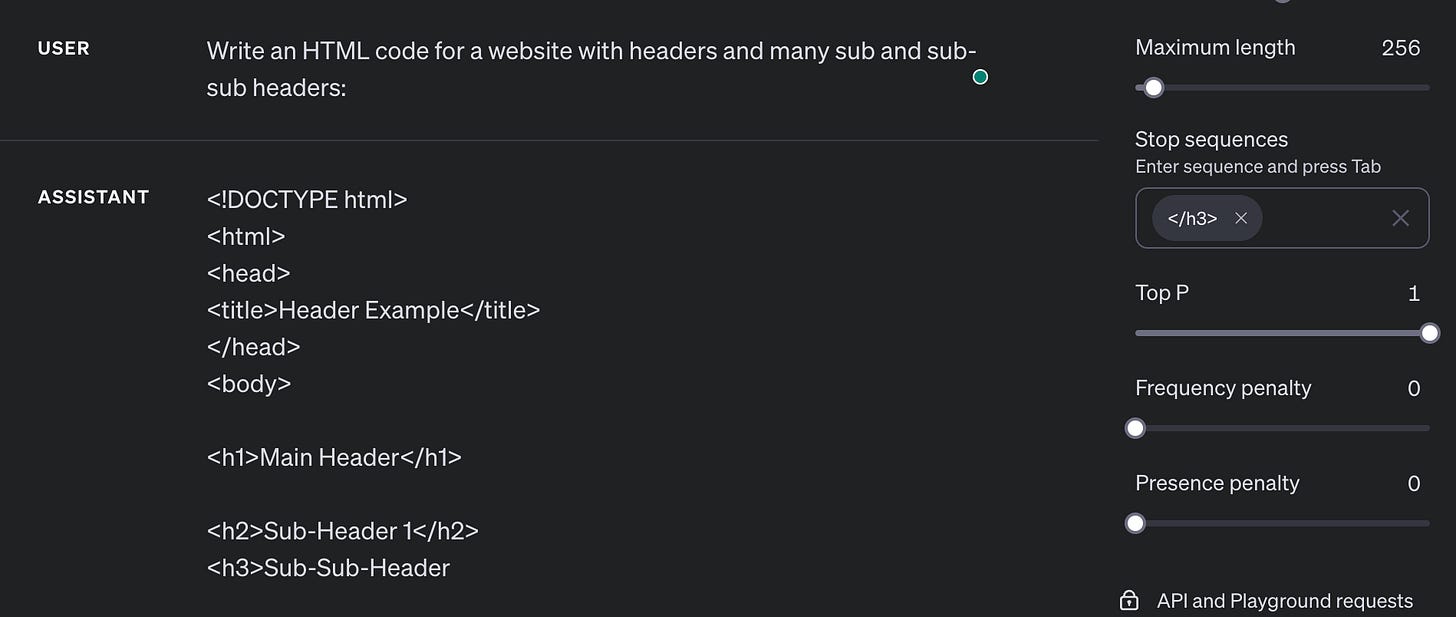
Stop Sequences are keywords after which the OpenAI API will just stop generating text. For example, if I put “Mars” as the stop sequence…
and ask it to name the 9 planets, it will just stop where Mars would be typed:
This could be useful for XML or HTML code generation, for example. Maybe you want it to scrape some content until a certain tag, for example:
Other Options
The other options “Top P”, “Frequency penalty” and “Presence penalty” is not something you would use normally. But you can scroll over them to read what they do and play around with them to see if that makes your model any better if you feel:
Conclusion
The OpenAI Developer website has a lot of tutorials, guides, documentation, and most importantly, a great Playground. Given the potential high costs involved with using this API and the uncertainty of the input / output associated with using it, I highly recommend getting familiar with the Playground before integrating anything into your app!








Thanks for the follow up. I need to go through these playground examples hands on. I enjoyed the workshop but I quickly got lost as I had not really used the playground, need to review the video after I spend a couple of hours experimenting, also have to give them my CC to enable these features which I didn’t understand as I thought ChatGPT subscription CC would cover it.